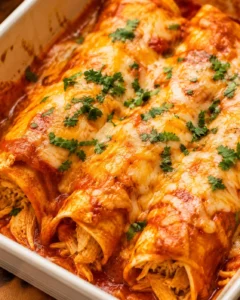
High Protein Chicken Enchiladas (30-Minutes, 7 Ingredients)

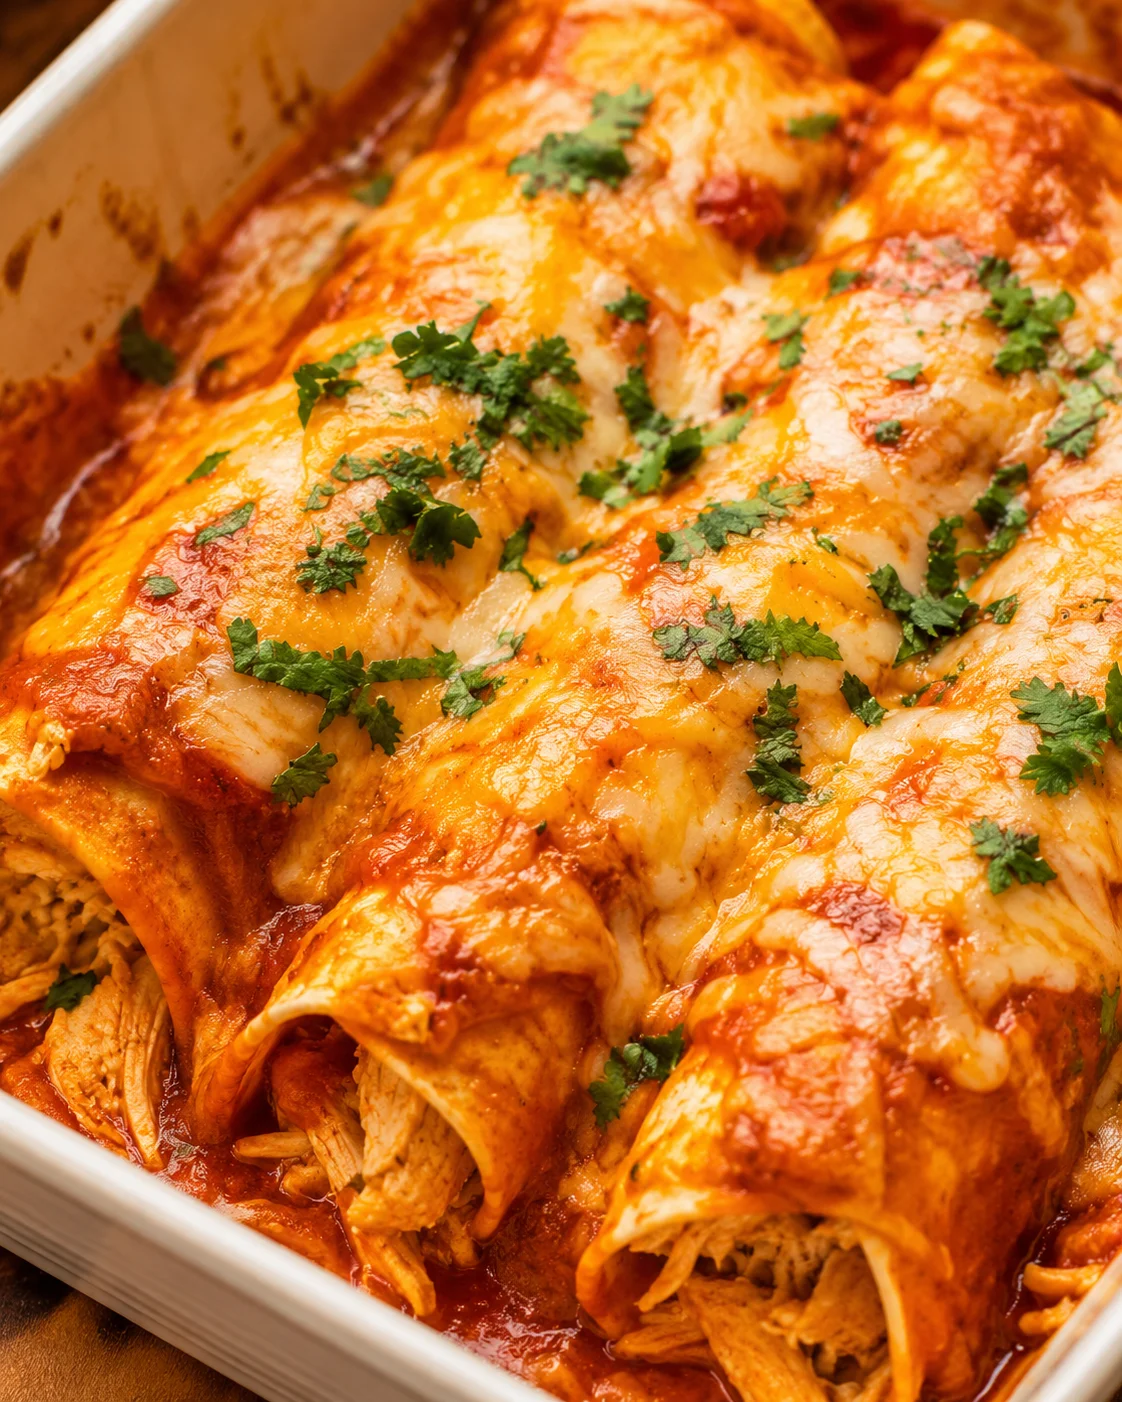 Honestly, there are almost zero days in my week where I’m not dreaming about Mexican food. I could happily eat it every single day and never get tired of it. So, naturally, I wanted to find a way to make some of my favorite dishes right at home, and these creamy high protein chicken enchiladas checked all the boxes!
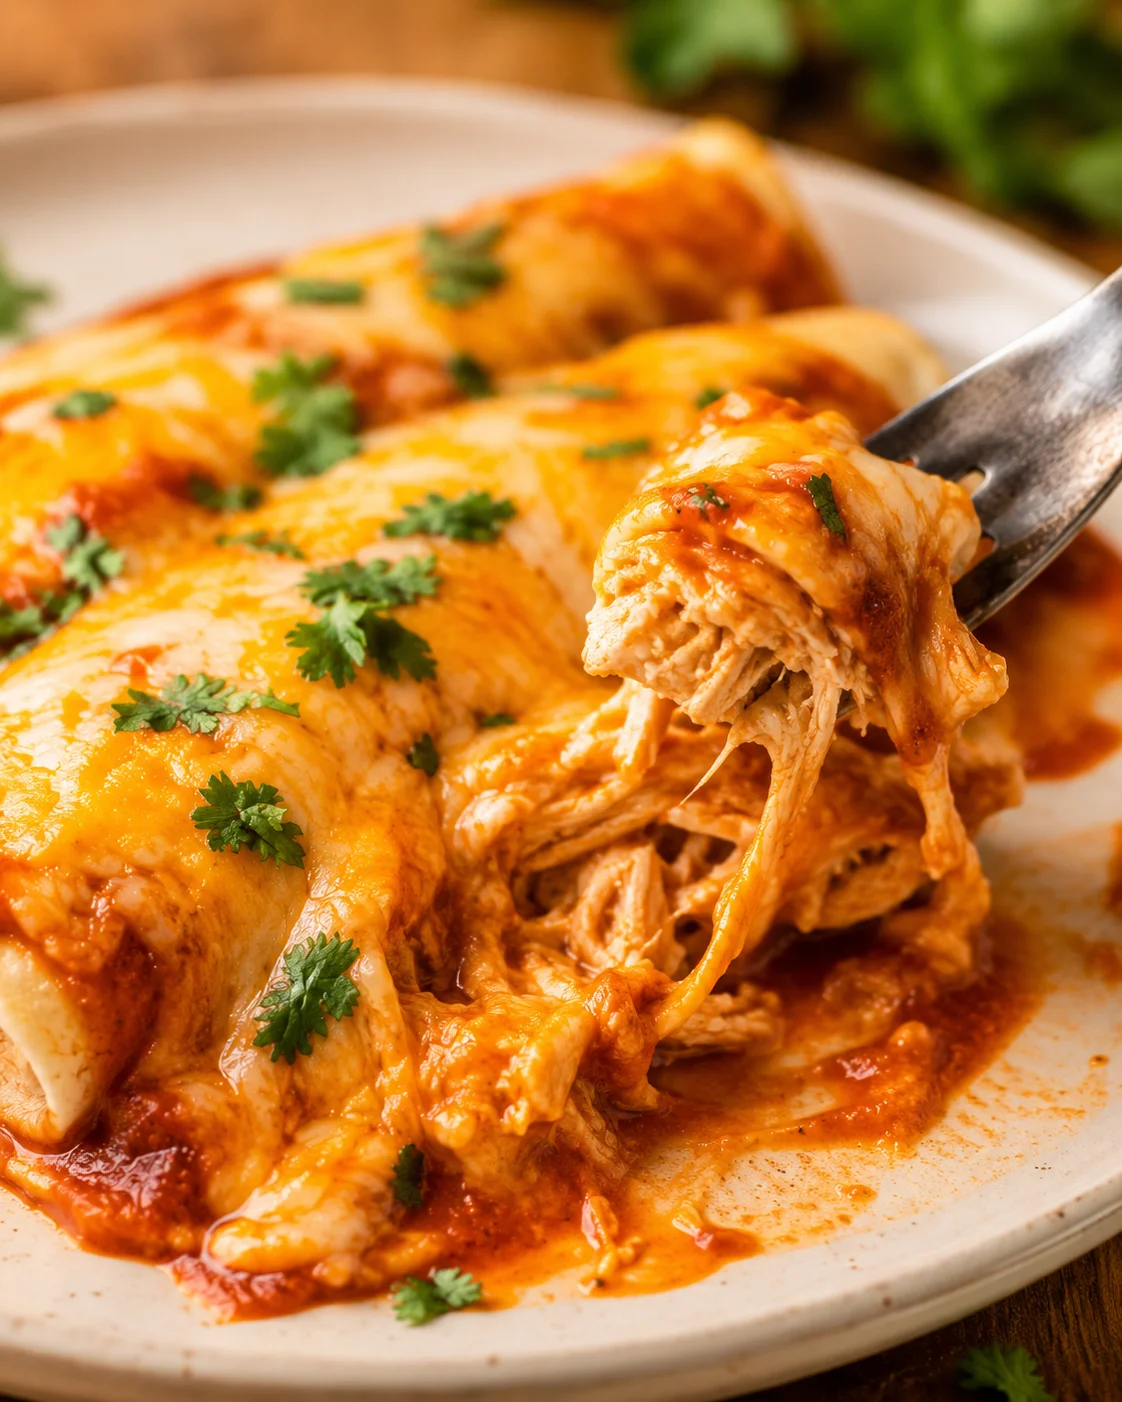
These classic enchiladas are loaded with shredded chicken, beans, and cheese, all smothered in a rich sauce. To make them healthier, I sneak in some Greek yogurt for extra creaminess and protein, and beans for added fiber and a protein boost. I also picked high-fiber tortillas to keep things macro-friendly. The best part? These smart swaps add nutrition without changing the flavor—your family won’t even notice!
For a full Mexican feast, serve these high protein chicken enchiladas with cilantro lime brown rice or traditional yellow rice and some fresh pico de gallo. And if you have extra refried beans laying around, why not whip up my 7-layer Bean Dip as a fun appetizer to go with your favorite tortilla chips? It’s a crowd-pleaser!
If you’re anything like me, craving Mexican dishes most nights, these creamy high protein chicken enchiladas will quickly become a staple dinner in your home. They offer all the cozy comfort of shredded chicken, beans, cheese, and that classic enchilada sauce—only here we make them a little healthier and much more filling, thanks to simple swaps like Greek yogurt and fiber-packed tortillas.
This post has everything you need: a straightforward, step-by-step guide accompanied by photos, a printable recipe card, notes on ingredients and easy substitutes, plus handy tips for prepping ahead, freezing, and reheating. This recipe is a quick 30-minute weeknight meal, works beautifully for meal prep, and packs about 38 grams of protein per serving—so it’s a dream for busy families.
You can count on simple prep (only 7 main ingredients), crowd-pleasing flavors, and smart pairing ideas—from rice and fresh pico to a delicious seven-layer bean dip—to help you create a full, satisfying Mexican meal your family will love.
Fast, Family-Friendly, Protein-Packed
- Ready in just 30 minutes, making it perfect for busy weeknights the whole family will devour.
- Awesome for meal prepping. Make a big batch to eat all week or freeze extras for later.
- A macro-friendly comfort classic! Loaded with fiber and a powerhouse 38 grams of protein per serving.
- Uses only 7 simple ingredients—no complicated grocery runs required.
- Even better when topped with sour cream (or creamy Greek yogurt), fresh avocado, and an extra sprinkle of cheese!
Ingredients plus Easy Swaps
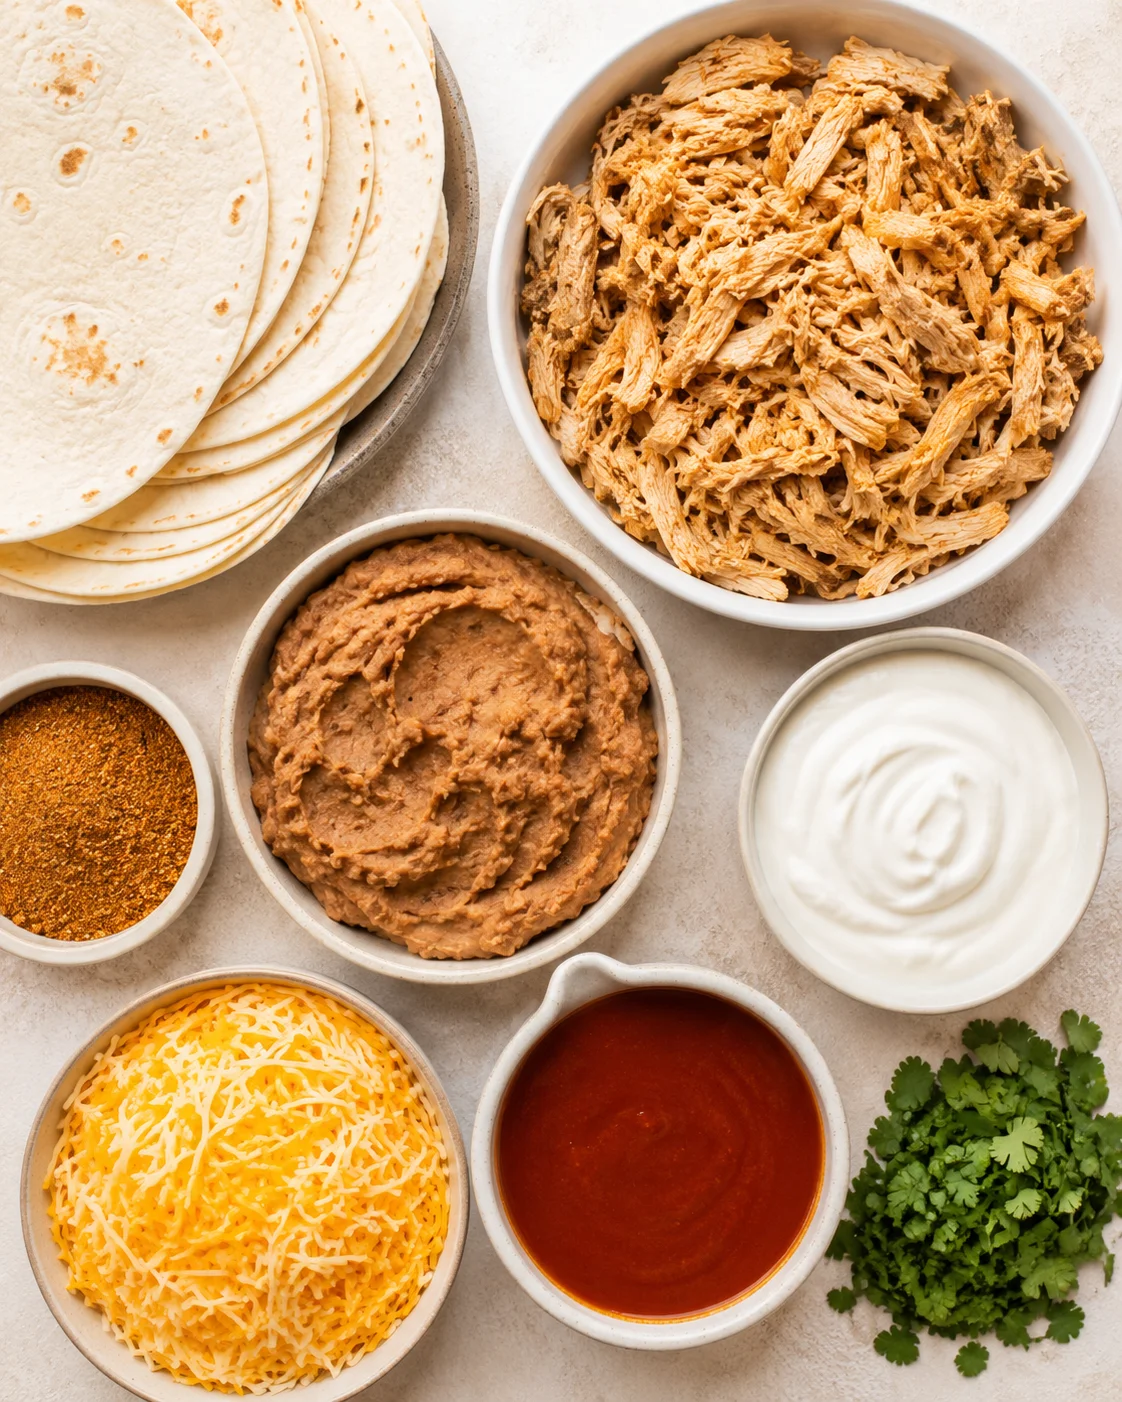
- 1/2 cup refried beans (120g)
- 3/4 cup Greek yogurt (170g)
- 1 Tbsp taco seasoning
- 3 cups shredded chicken (280g) see notes
- 1.5 cups shredded Mexican cheese (168g) divided
- 10 oz. can red enchilada sauce
- 8 flour tortillas 8-inch, I used high fiber
Assembly and Baking Instructions
- Preheat oven to 375°F and lightly spray a 9×13-inch baking dish with nonstick spray.
- If desired, warm tortillas by wrapping in a damp paper towel and microwaving 20–30 seconds or heating in a dry pan 15–20 seconds per side.
- If using canned or thawed chicken or wet vegetables, drain or pat dry to remove excess moisture.
- In a medium bowl, combine Greek yogurt, refried beans, and taco seasoning; stir until smooth.
- Fold shredded chicken and 1/2 cup of the shredded cheese into the bean-yogurt mixture; taste and adjust seasoning if needed.
- Lay out tortillas and divide the filling evenly among them (about 1/3 cup or 80g per tortilla).
- Roll each tortilla tightly and place seam-side down, side by side, in the prepared baking dish.
- Pour enchilada sauce evenly over the rolled tortillas.
- Sprinkle the remaining 1 cup of shredded cheese evenly over the sauce-covered enchiladas.
-
Cover the baking dish with foil and bake at 375°F for 15–20 minutes until cheese is melted and bubbly; remove foil for the last 5–7 minutes (or broil briefly) to brown the cheese.
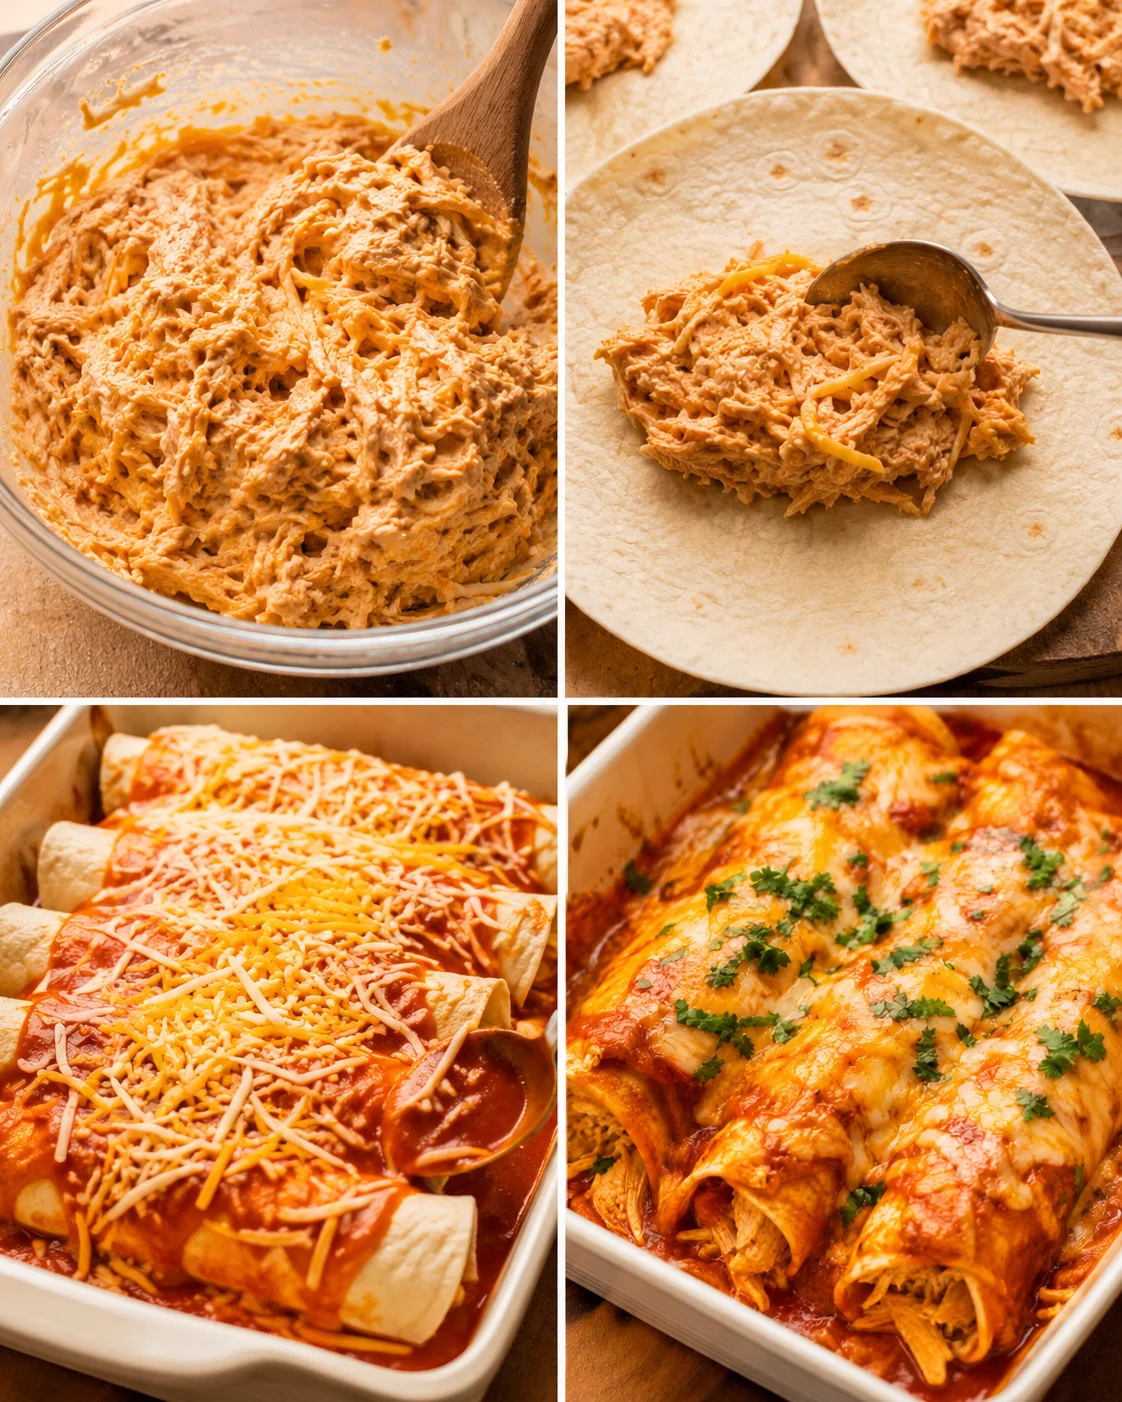
- Garnish with fresh cilantro before serving.
Tips for Perfect Enchiladas
Sometimes it’s the little things that make your enchiladas truly shine. Check out these tips to avoid common issues and get the perfect texture and flavor every time, plus leftovers that reheat beautifully.
- Warm those tortillas: Heat your tortillas gently before rolling—wrap them in a damp paper towel and microwave for 20-30 seconds or warm in a dry pan for 15-20 seconds per side. Warm tortillas roll smoother and don’t crack.
- Skip soggy enchiladas: Pour just enough sauce to coat the tops. For best results, keep extra sauce separate and add it only when reheating—this will keep your tortillas nice and firm.
- Don’t overfill: Stick to about a 1/3 cup (80g) of filling per tortilla to avoid splitting when you roll or bake them.
- Choose your cheese wisely: Freshly shredded cheese melts better and gives a lovely gooey finish, compared to pre-shredded cheese which often contains anti-caking ingredients. Save some cheese to sprinkle on top so you get that bubbly, golden crust.
- Drain wet ingredients: If you’re using canned chicken, thawed frozen chicken, or water-rich veggies, give them a quick pat dry or drain well to keep the filling thick and avoid watery enchiladas.
- Cook veggies first: Any veggies like bell peppers, mushrooms, or spinach should be sautéed first. This helps reduce moisture and concentrates their flavors, making your filling richer.
- Bake covered, then uncover: Cover the baking dish with foil for most of the bake time to keep the filling moist. Remove foil in the last 5-7 minutes—or broil briefly—to brown the cheese. Just keep an eye on it to prevent burning!
- Season to taste early: Before assembling, taste your chicken and bean mixture. Adjust salt, taco seasoning, or add a splash of lime juice or hot sauce to brighten things up.
- Freezing and reheating tips: Freeze the unbaked enchiladas wrapped tightly, then thaw overnight in the fridge before baking. If baking straight from frozen, add extra baking time and remove foil near the end for browning. Flash-freezing individual rolled enchiladas before storing makes portioning easier too.
- Easy cleanup: Line your baking dish with foil or spray it well with nonstick spray to save scrubbing time and help lift leftovers out easily.
- Make it your own: Love spice? Add diced jalapeños, a few dashes of your favorite hot sauce, or swap in a spicy enchilada sauce. For extra creamy goodness, stir some cream cheese into the filling or swap some Greek yogurt for sour cream.
Serving Suggestions and Swaps
- Rice – I love pairing these enchiladas with my Cilantro Lime Brown Rice or Cilantro Lime Cauliflower Rice for a low-carb option.
- Pico de Gallo – Fresh homemade or store-bought works great to add brightness.
- Guacamole – those little cups of guac make a perfect topping or snack alongside.
- Bean Dip – don’t miss my Healthy 7-Layer Dip, a tasty appetizer to start your meal.
- Veggies – Air Fryer Broccoli or Charred Green Beans add a simple, nutritious side to round out the meal.
- Switch up the sauce! Try a green enchilada sauce or make your own homemade version for a fresh twist.
- Change the protein! Substitute chicken with ground beef, Mexican-seasoned ground turkey, or tender pork carnitas for a new flavor.
- Boost the veggies! Add extra veggies like sautéed spinach, bell peppers, or mushrooms for more volume and nutrients.
- Tortilla options! Use corn or flour tortillas based on your preference or dietary needs.
- Turn up the heat! If you’re a heat lover, throw in diced jalapeños or green chilies in the filling.
How to Store and Freeze
These high protein chicken enchiladas reheat beautifully and are great for busy weeknights or meal prep.
- Make ahead: Assemble the enchiladas, cover tightly with foil or place in an airtight container, and refrigerate for up to 3 days.
- Freezing unbaked: Assemble in a freezer-safe dish, let cool briefly, then wrap tightly with plastic wrap and foil or use a freezer container. Freeze for up to 3 months.
- Freezing baked: Let cool completely, cover tightly, and freeze for up to 3 months.
Reheating instructions:
- From refrigerated (unbaked): Bake covered at 375°F for 15–20 minutes until hot and cheese is melted.
- From refrigerated (already baked): Heat at 350°F covered for 15–20 minutes until warm. Microwave individual portions 1–2 minutes, then in 30-second bursts until heated.
- From frozen (thawed): Thaw in refrigerator 24 hours before baking at 375°F for 15–20 minutes, or heat baked enchiladas at 350°F for 20–30 minutes.
- From frozen (not thawed): Bake covered at 375°F for 45–60 minutes; remove foil last 5–10 minutes to brown cheese.
Pro tips: Store leftovers airtight, refrigerate within 2 hours, and add fresh toppings like cilantro, avocado, and sour cream or Greek yogurt just before serving. For less soggy results, keep extra sauce separate when reheating.
Answers to Common Questions
Can I make these healthy chicken enchiladas ahead of time?
Definitely! These enchiladas are perfect for prepping ahead. I often double the recipe and freeze half for later. Simply assemble as directed, cover tightly, and refrigerate for up to 3 days before baking, or freeze for up to 3 months. When ready, thaw in the fridge for 24 hours, then bake as usual.
Can I use corn tortillas instead of flour tortillas in this recipe?
Yes! You can swap in corn, flour, low-carb, whole-wheat, or even gluten-free tortillas depending on your preference. I personally choose low-carb flour tortillas to keep the macros in check, but any sturdy tortilla works here.
What should I serve with these traditional high protein chicken enchiladas for a simple, satisfying dinner?
Honestly, these enchiladas are so filling on their own, you don’t need much else. But we often pair them with something snacky like cottage cheese queso, pico de gallo, or a 7-layer refried bean dip with tortilla chips. For sides, yellow rice or cilantro lime brown rice are perfect, or add simple vegetables like air fryer broccoli or green beans to boost fiber and nutrients.
Notes
Chicken: Use any cooked chicken you have on hand! Leftover grilled chicken, shredded chicken from boneless breasts or thighs, crockpot salsa verde chicken, canned, rotisserie, or store-bought shredded chicken all work wonderfully.
Tortillas: My go-tos are Ole Xtreme Wellness high fiber tortillas. I also recommend La Banderita Carb Counter or Mission Carb Balance tortillas, both similar in macros. Flour tortillas hold up best for rolling and baking.
Nutrition Information
Serving: 2 enchiladas, Calories: 479kcal (24%), Carbohydrates: 43.6g (15%), Protein: 38.2g (76%), Fat: 16.9g (26%), Saturated Fat: 7.5g (47%), Cholesterol: 81.2mg (27%), Fiber: 23.3g (97%), Sugar: 3.4g (4%)
Nutrition info is hand-calculated and accurate. Actual values may vary depending on brands and substitutions you use.
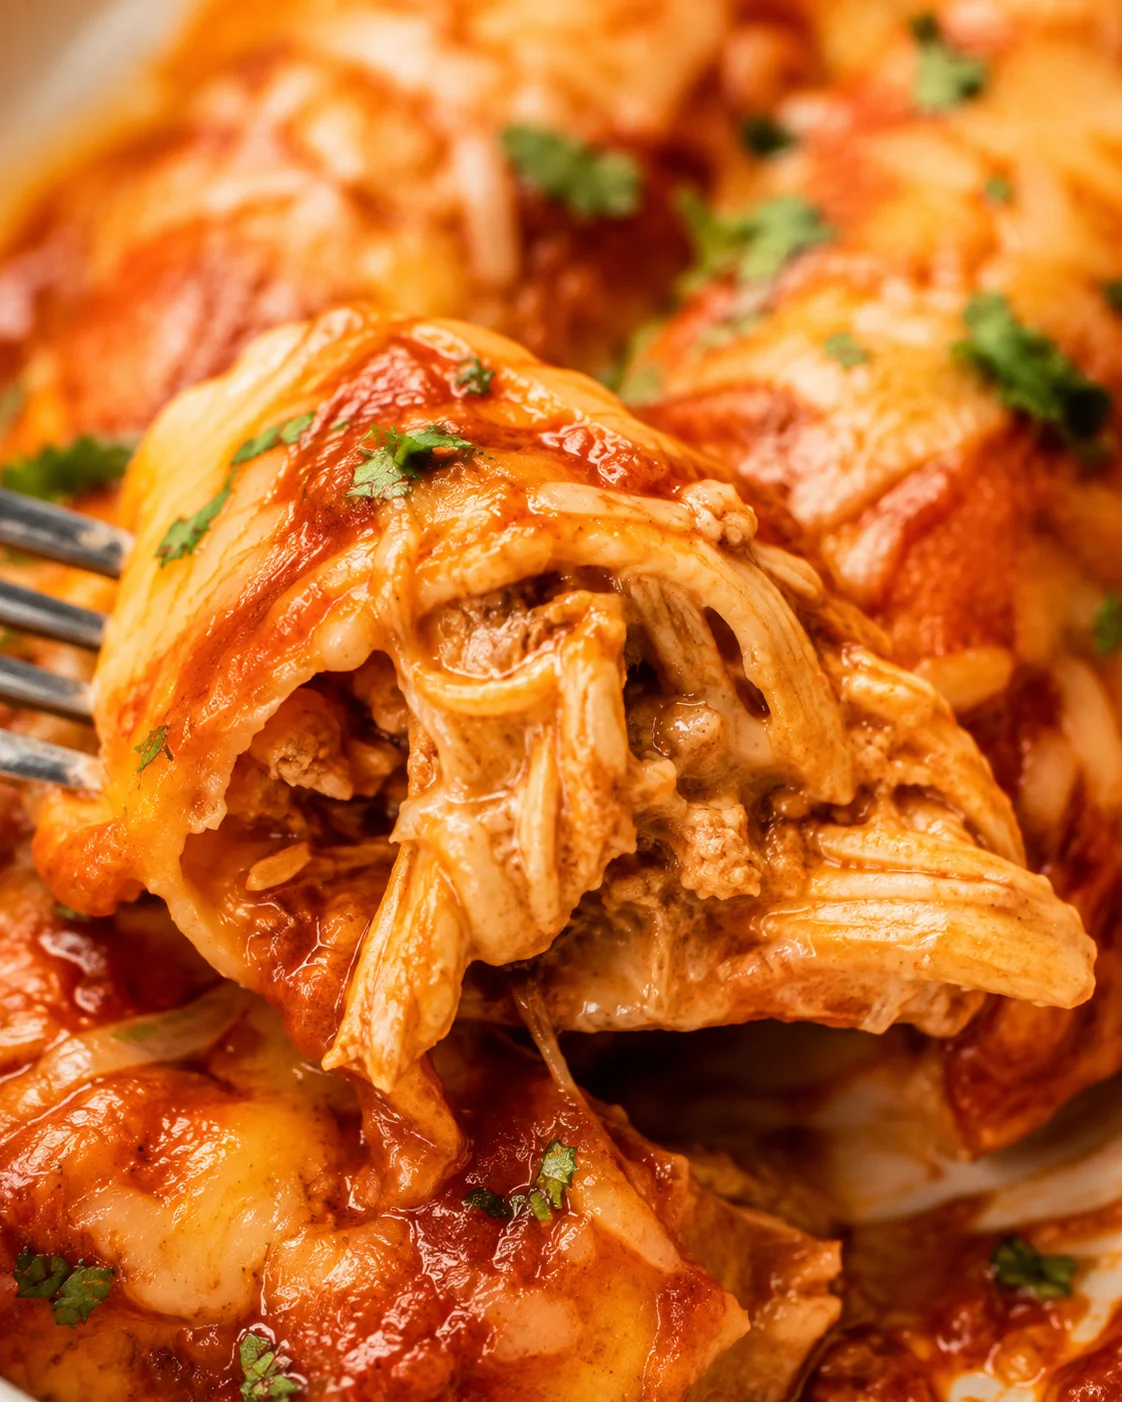
Creamy, macro-friendly chicken enchiladas packed with shredded chicken, beans, cheese, and a rich enchilada sauce, made healthier with Greek yogurt and high-fiber tortillas for a quick and family-friendly meal.
- Prep Time: 10 minutes
- Cook Time: 20 minutes
- Total Time: 30 minutes
- Yield: 8 servings (2 enchiladas per serving) 1x
- Category: Main Course
- Cuisine: Mexican-inspired
Ingredients
- 1/2 cup refried beans (120g)
- 3/4 cup Greek yogurt (170g)
- 1 Tbsp taco seasoning
- 3 cups shredded chicken (280g)
- 1.5 cups shredded Mexican cheese (168g), divided
- 10 oz. can red enchilada sauce
- 8 flour tortillas (8-inch), preferably high fiber
Instructions
- Preheat oven to 375°F and lightly spray a 9×13-inch baking dish with nonstick spray.
- If desired, warm tortillas by wrapping in a damp paper towel and microwaving 20–30 seconds or heating in a dry pan 15–20 seconds per side.
- If using canned or thawed chicken or wet vegetables, drain or pat dry to remove excess moisture.
- In a medium bowl, combine Greek yogurt, refried beans, and taco seasoning; stir until smooth.
- Fold shredded chicken and 1/2 cup of the shredded cheese into the bean-yogurt mixture; taste and adjust seasoning if needed.
- Lay out tortillas and divide the filling evenly among them (about 1/3 cup or 80g per tortilla).
- Roll each tortilla tightly and place seam-side down, side by side, in the prepared baking dish.
- Pour enchilada sauce evenly over the rolled tortillas.
- Sprinkle the remaining 1 cup of shredded cheese evenly over the sauce-covered enchiladas.
- Cover the baking dish with foil and bake at 375°F for 15–20 minutes until cheese is melted and bubbly; remove foil for the last 5–7 minutes (or broil briefly) to brown the cheese.
- Garnish with fresh cilantro before serving.
Notes
Warm tortillas before rolling to prevent cracking., Pour just enough sauce to coat; keep extra sauce separate when reheating to avoid soggy enchiladas., Stick to about 1/3 cup (80g) filling per tortilla to avoid splitting., Use freshly shredded cheese for better melting and texture., Drain wet ingredients like canned or frozen chicken and vegetables., Sauté vegetables before adding to reduce moisture and enhance flavor., Cover dish during most baking to keep moist; uncover or broil near end to brown cheese., Taste and adjust seasoning before assembling., For freezing, wrap unbaked or baked enchiladas tightly; freeze up to 3 months., Reheat frozen enchiladas by baking covered at 375°F, removing foil near the end for browning., Line baking dish with foil or spray to ease cleanup., Customize with jalapeños, hot sauce, or swap in cream cheese or sour cream.
Nutrition
- Serving Size: 2 enchiladas
- Calories: 479 kcal per serving (2 enchiladas)
- Fat: 16.9 g per serving
- Carbohydrates: 43.6 g per serving
- Protein: 38.2 g per serving (2 enchiladas)
More in Quick & Easy
Cottage Cheese Alfredo Sauce (High Protein, Ready in 10 Minutes)
Ground Beef and Broccoli Stir Fry
Easy Creamy Ground Beef Pasta